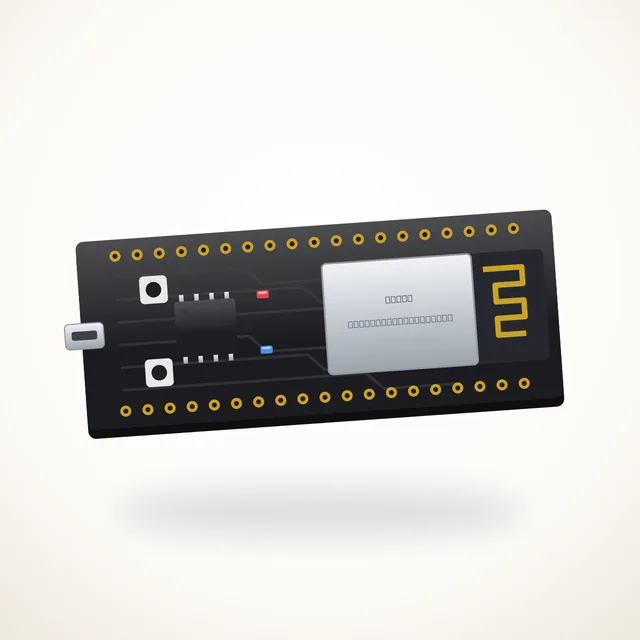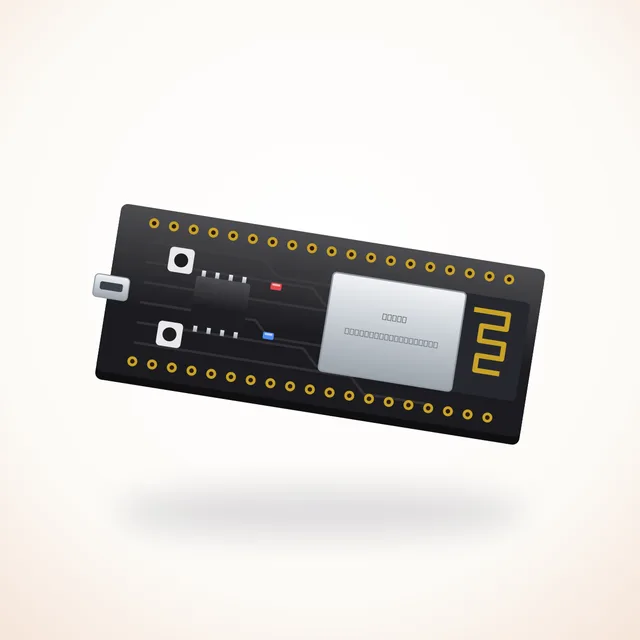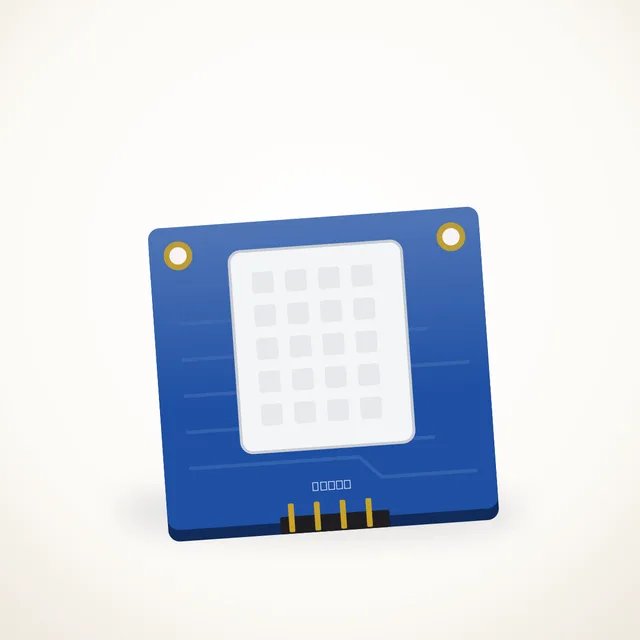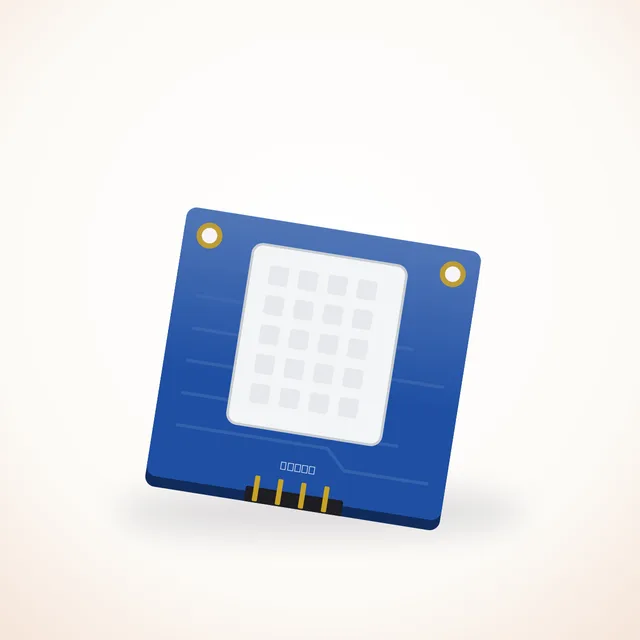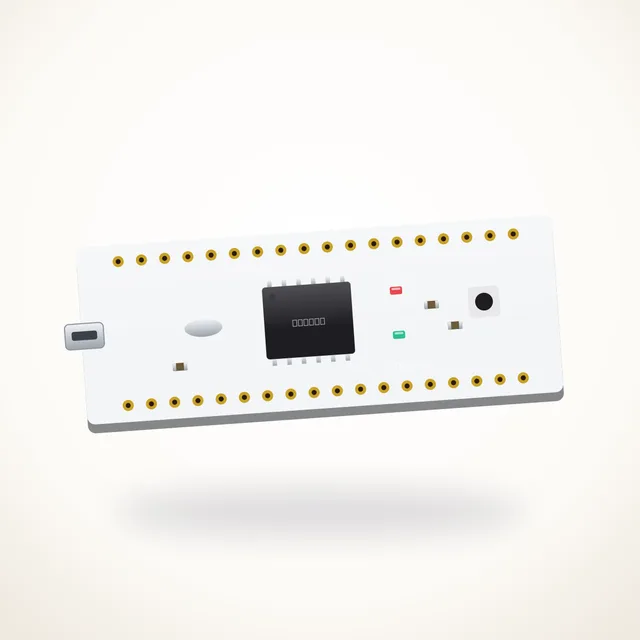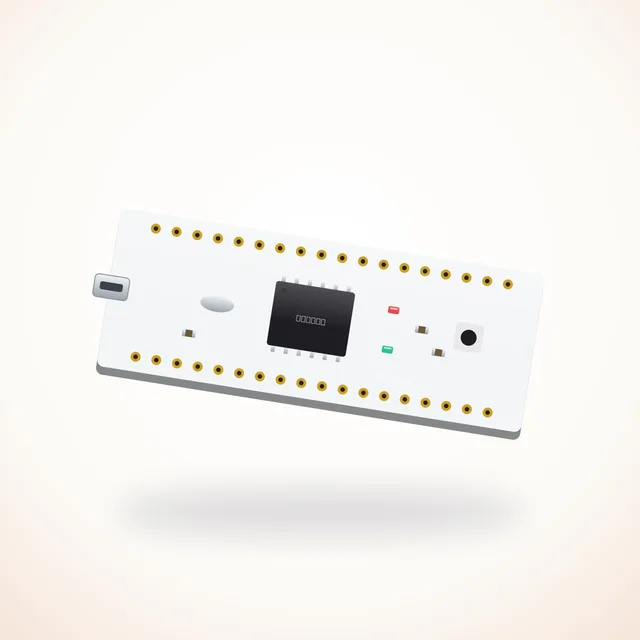
The ESP32 is the most popular board in our shop for a reason: two fast cores, Wi-Fi and Bluetooth for the price of a meal. In this tutorial you will build a small web server that shows the temperature and humidity in your room.
What you need
- ESP32 DevKit V1
- DHT22 sensor
- Breadboard and jumper wires
1. Install the board package
In the Arduino IDE open Settings → Additional boards manager URLs and add Espressif’s package URL, then install esp32 from the Boards Manager.
2. Wire the sensor
Connect DHT22 VCC to 3V3, GND to GND and DATA to GPIO 4.
#include <WiFi.h>
#include <DHT.h>
DHT dht(4, DHT22);
3. Upload and open the page
Open the Serial Monitor to find the board’s IP address, then visit it from any phone on the same Wi-Fi.
Tip: if upload fails, hold the BOOT button while the IDE says “Connecting…”.